
Countertop honing in Richmond, VA
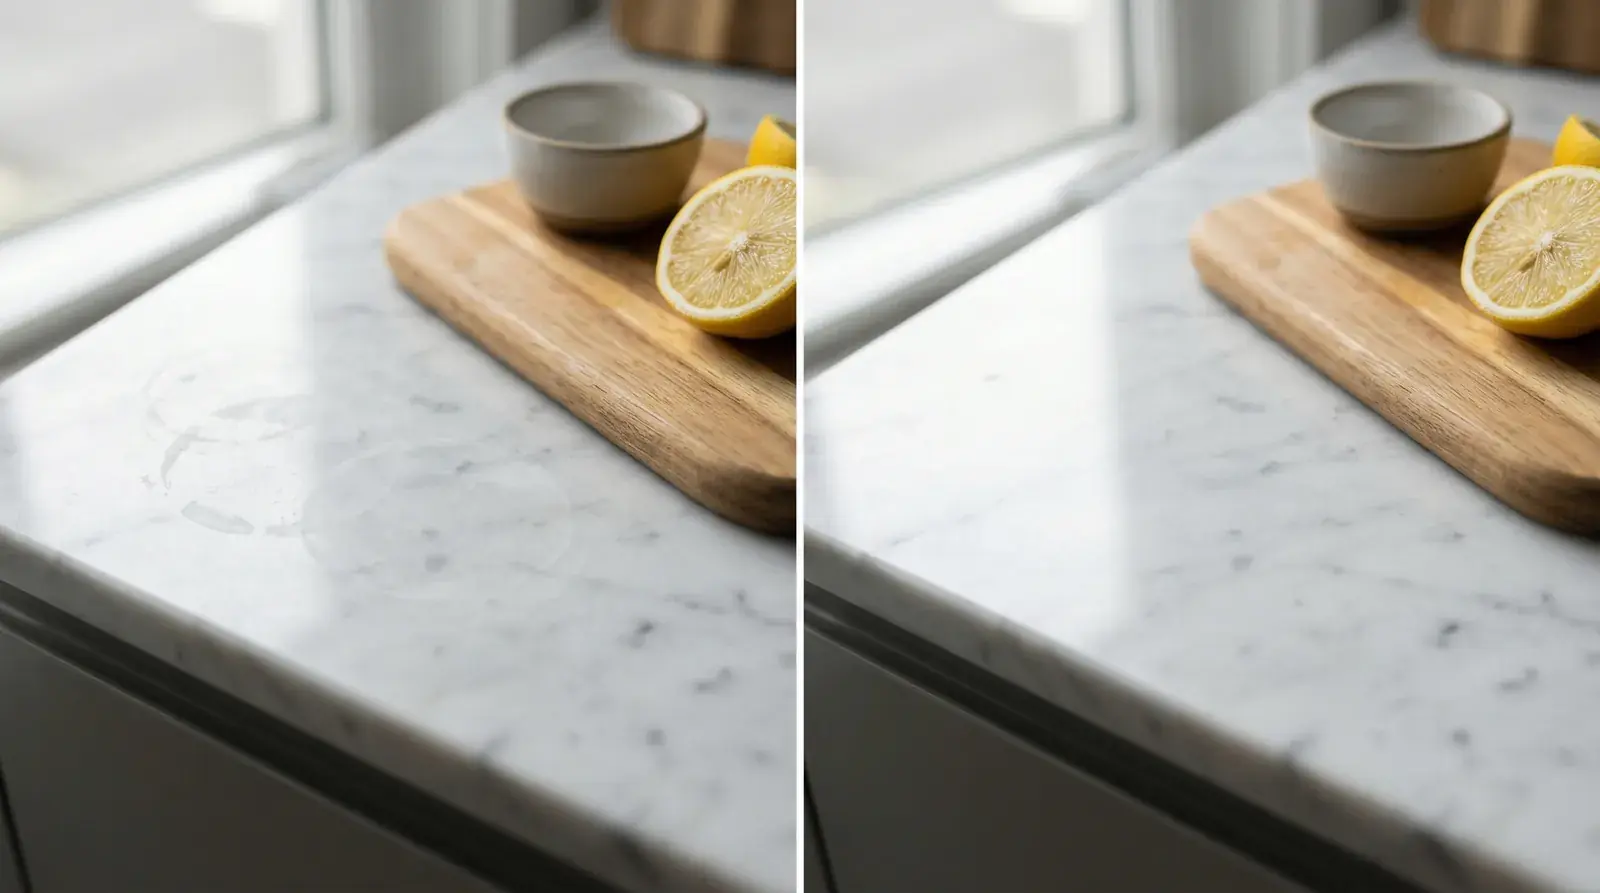
Honing smooths etched, scratched, or uneven natural stone. It can create a soft matte finish or prepare the surface for polishing when the damage reaches below the existing sheen.
Google Reviews
Scroll to read all 9 reviews →
“Great work and even better customer service. Very professional, easy to work with, and you can tell they take pride in what they do. Definitely recommend Precision Floor & Surface Restoration if you need your floors or countertops brought back to life.”★★★★★
“Absolutely amazing work! From start to finish, everything was handled professionally and with great attention to detail. They took the time to make sure everything was done right, and the results speak for themselves. The floors and surfaces came out looking incredible, and you can tell they genuinely take pride in their work. I couldn’t be happier with the finished product and would definitely recommend them to anyone looking for quality work and great service. Five stars all the way! ⭐⭐⭐⭐⭐”★★★★★
“Precision Floor & Surface Restoration exceeded my expectations! Professional, punctual, and detail-oriented from start to finish. My floors look amazing, and the quality of work was outstanding. Highly recommend to anyone looking for top-notch floor and surface restoration services.”★★★★★
“Removed stains that previous cleaning services could not. Made the impossible - possible!”★★★★★
“Great quality work! Very professional with communication!!”★★★★★
“Clean and very professional. Highly recommend”★★★★★
“I highly recommend his floor cleaning services! He’s reliable, professional, and does an excellent job. My floors looked amazing, and I couldn’t be happier with the results.”★★★★★ ★★★★★
Why honing comes before polishing
Polishing changes the sheen. Honing corrects the surface underneath it. When lemon juice, wine, coffee, or an acidic cleaner leaves marble rough and pale, the damaged area has to be leveled before its reflection can be rebuilt.
This is especially common with marble etching and wear and travertine surface damage. Both stones contain calcium-based minerals that react with household acids.
What honing can correct
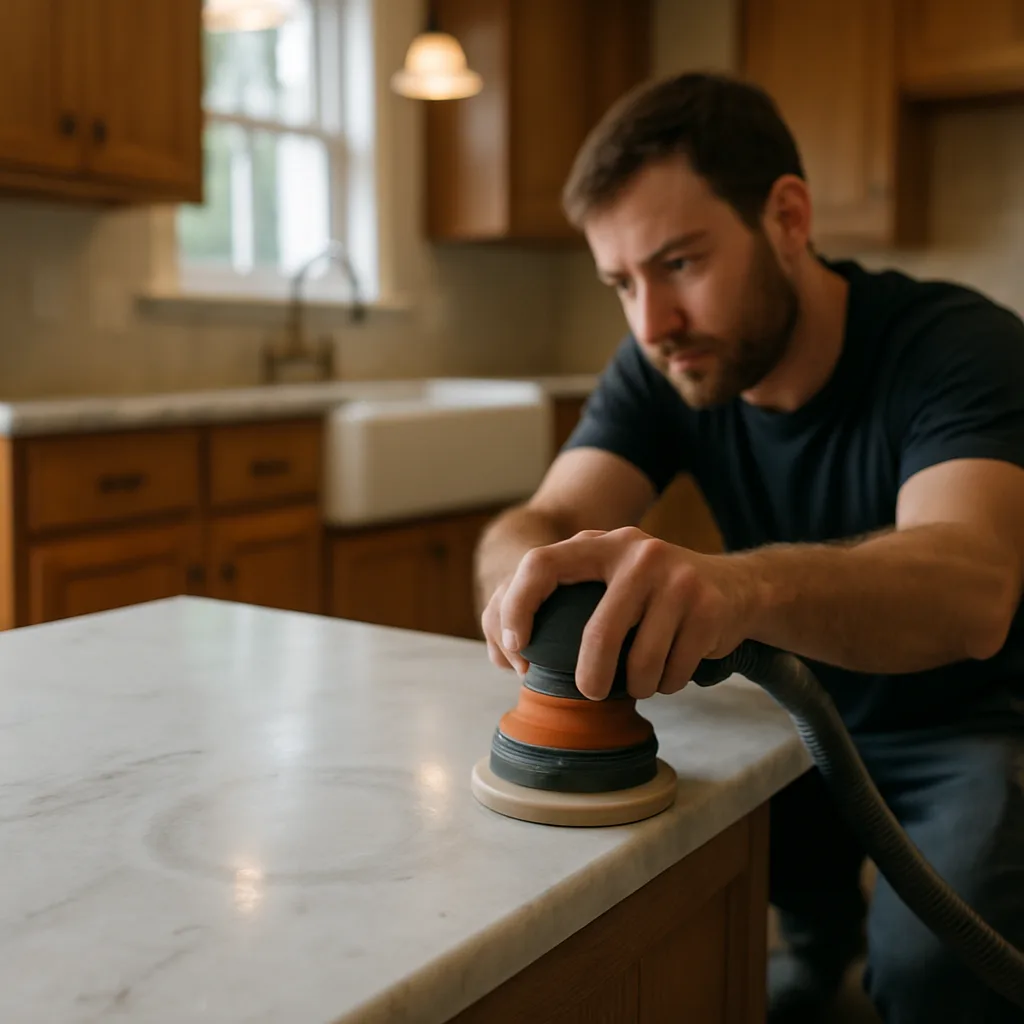
Honing can reduce etch marks, fine scratches, uneven texture, and worn areas where the original finish has become patchy. It is also the process used when someone wants to change polished natural stone to a softer matte appearance.
A stain needs separate treatment because its color sits within the pores. A chip needs filling. A crack may need structural attention. Honing becomes useful after those conditions have been identified and the surface is stable.
How the stone is kept even
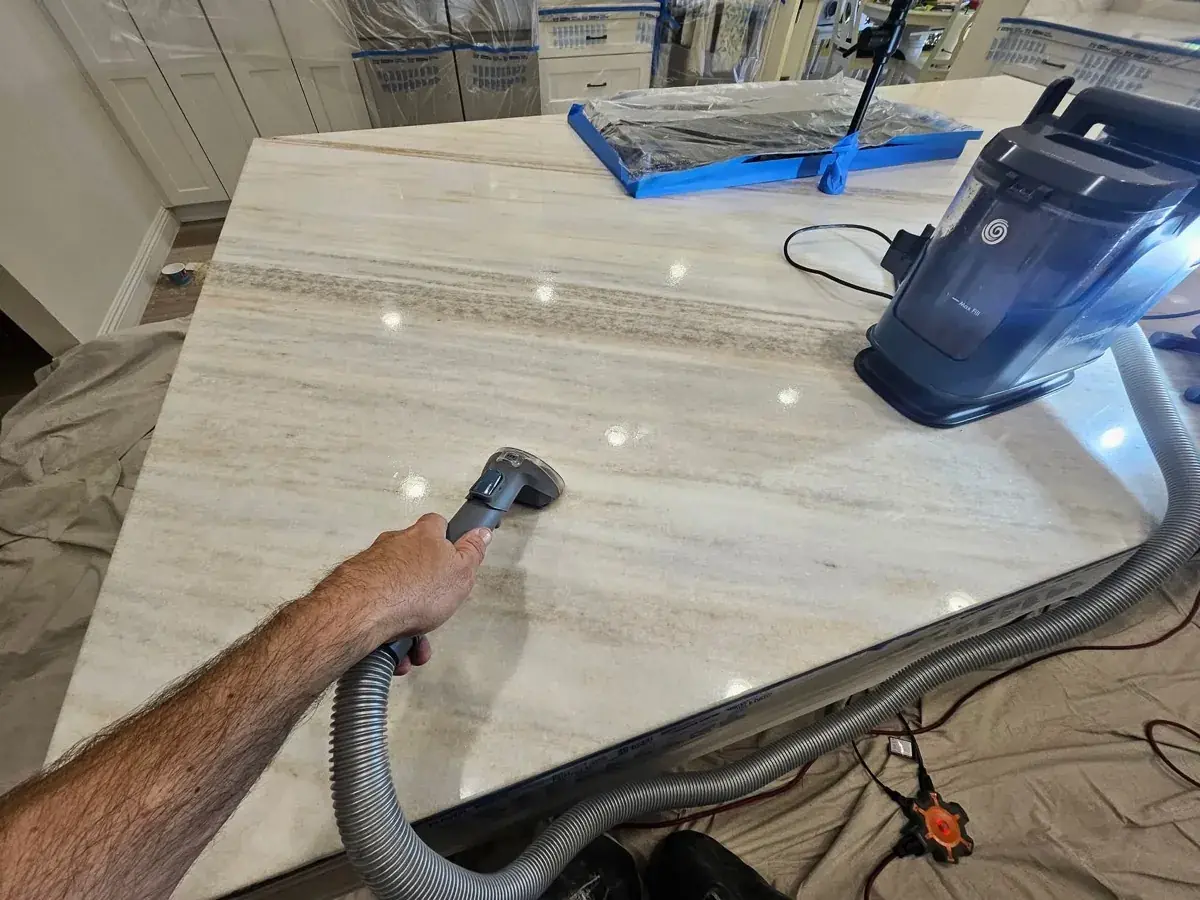
The damaged area is refined through controlled abrasive stages. Each stage removes the scratch pattern from the one before it. Working beyond the visible mark helps prevent a shallow dip or a small patch with a noticeably different texture.
If the final goal is a polished finish, the honing sequence is followed by natural stone countertop polishing. If the homeowner prefers a honed finish, the work stops at the agreed sheen and the larger area is blended to match.
Which countertops can be honed
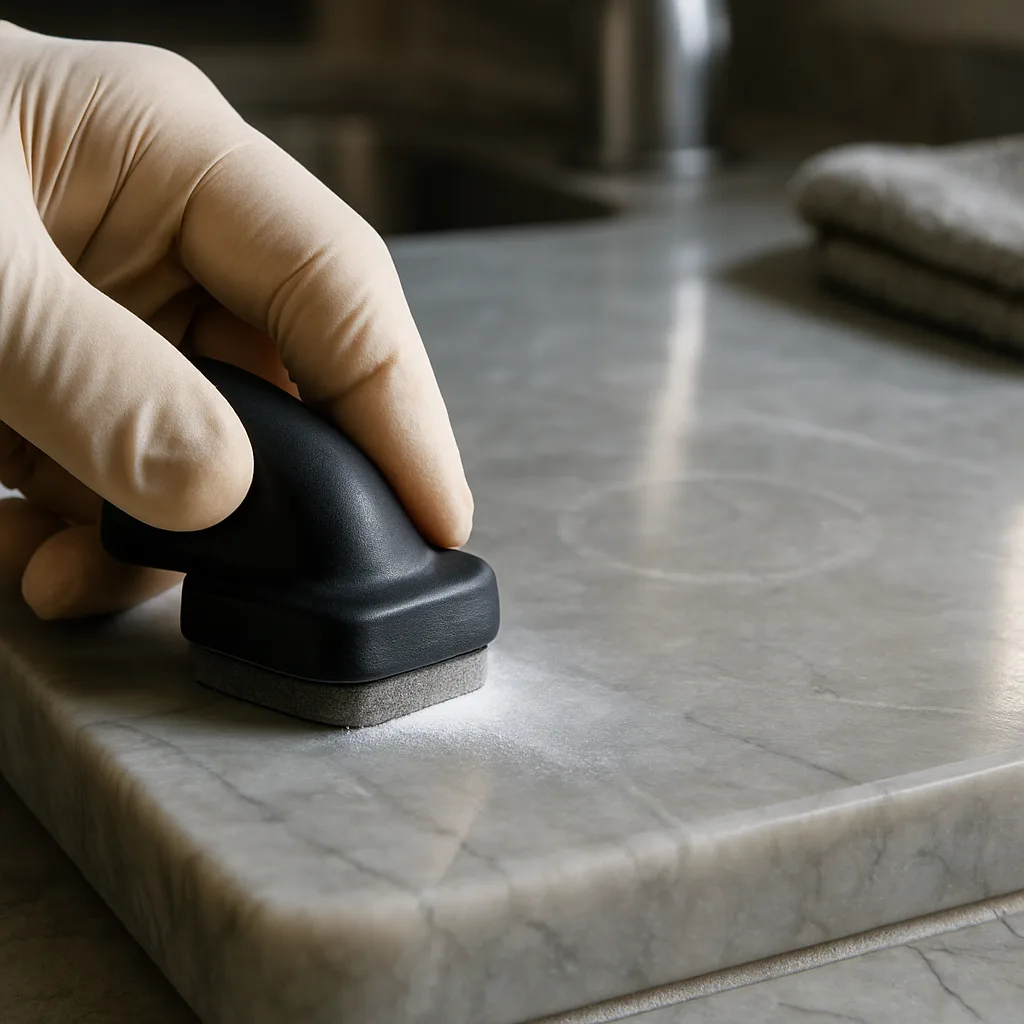
Marble and travertine are the most common candidates. Granite and genuine quartzite can also be honed, though their hardness changes the equipment and time involved. A countertop sold as quartzite should be confirmed first because some visually similar slabs are actually marble or dolomitic marble.
Engineered quartz, porcelain, and Corian do not belong in the same honing process. Their resin, printed face, or acrylic composition calls for a different repair method.
When a wider area needs attention
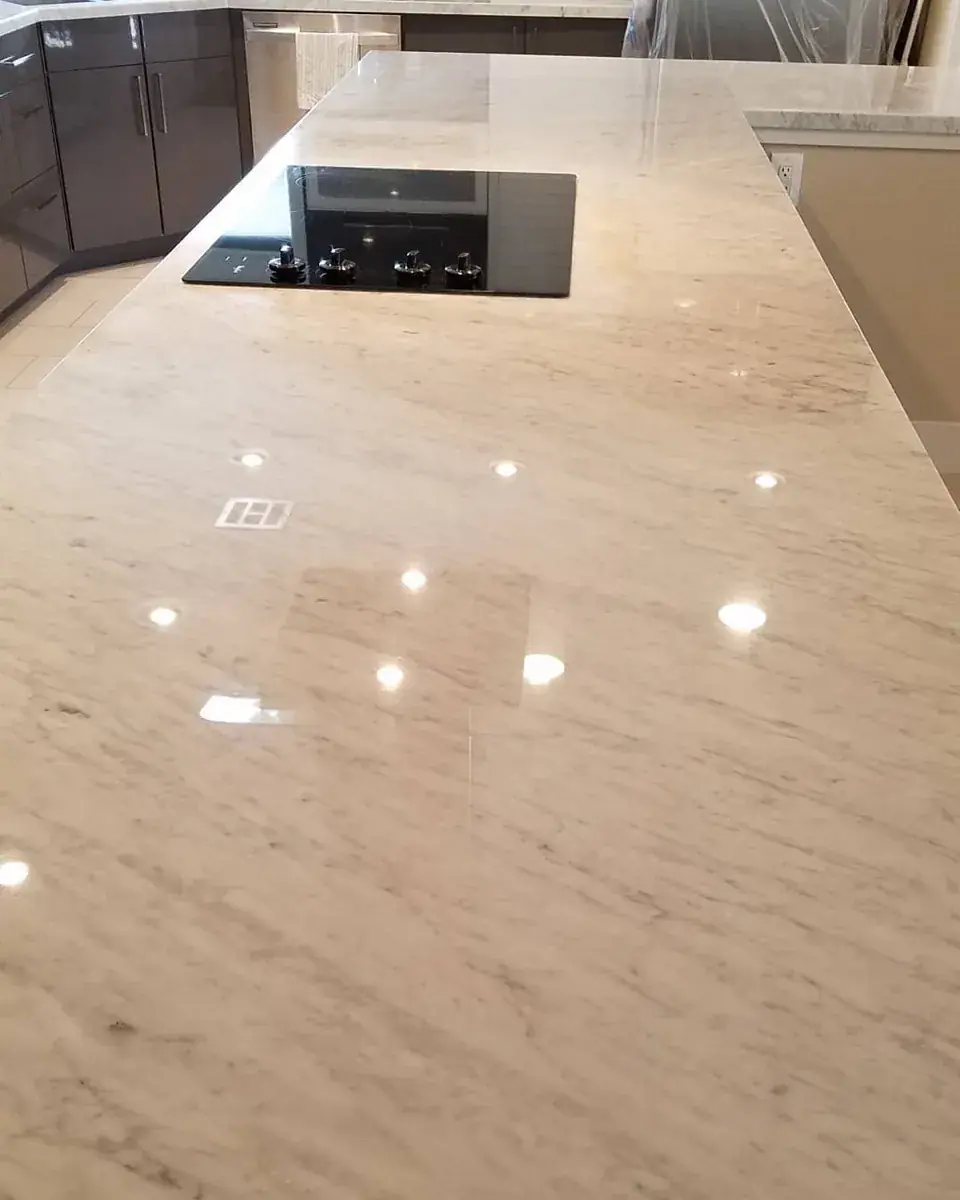
One small etch can sometimes be blended locally. A countertop covered with overlapping dull spots may need the full working area honed so the texture stays consistent from one end to the other.
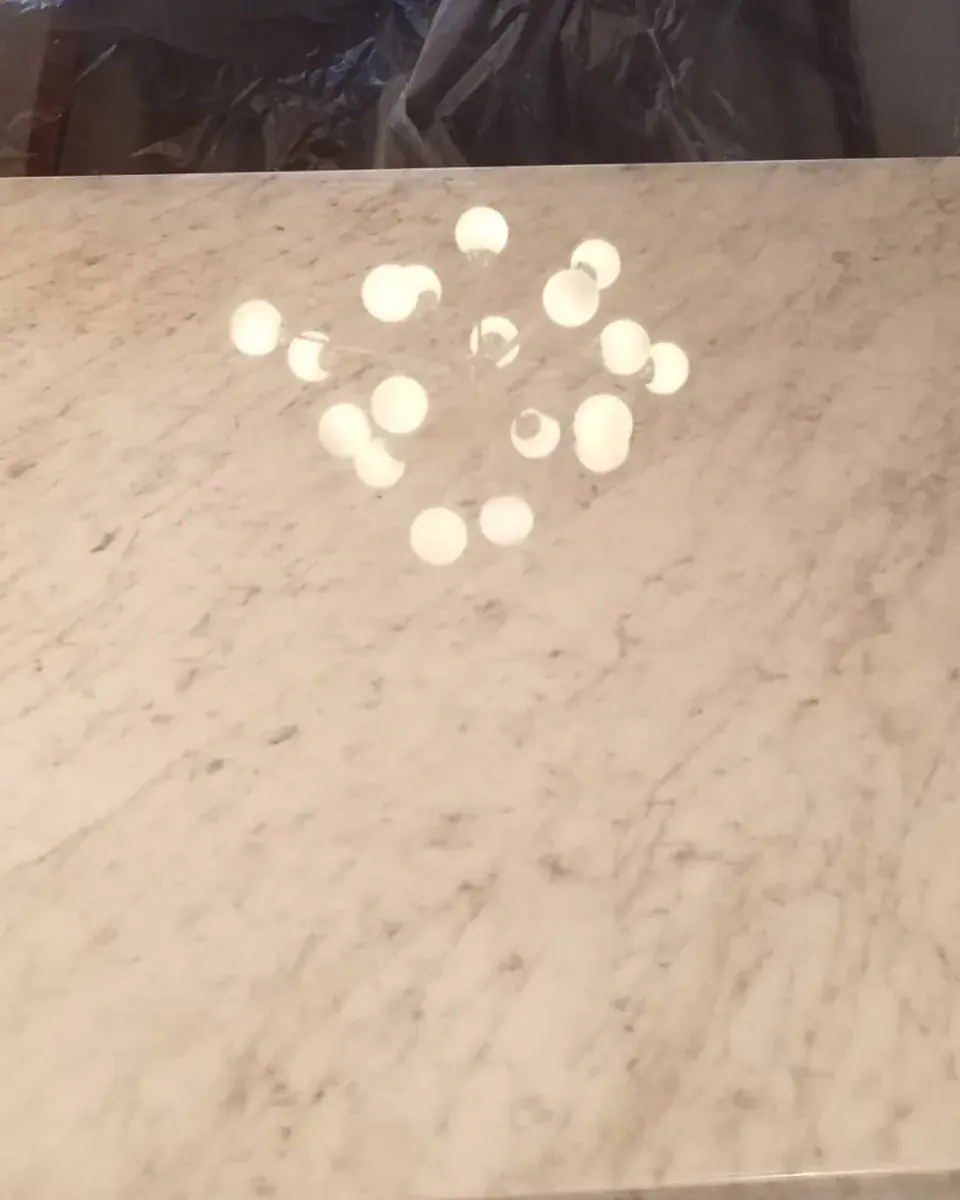
A photo taken straight down shows the shape of the damage. A second photo taken with window or cabinet light crossing the surface shows the difference in sheen. Send both and we can start with a more useful answer.
Measured steps.
A considered result.
- Share the surface
Send a full view and a close-up of the concern.
- Confirm the material
Identify what it is before choosing a method.
- Set the scope
Separate cleaning, finish work, and repair needs.
- Refine with care
Use a process compatible with the existing surface.
- Review the finish
Inspect the result and discuss ongoing care.
Clarity before
the visit.
Does honing leave the countertop dull?
Honing creates a smooth matte or satin surface. It may be the final finish, or it may be one stage in a restoration that continues into polishing. The stopping point depends on the surrounding countertop and the finish you want.
Can honing remove marble etching?
Yes, when the etch has changed the texture of the marble. Honing levels the affected surface, and polishing can then restore the original sheen if the countertop was polished before.
Will honing remove a dark stain?
Usually not. A dark stain has entered the stone and needs a stain-removal treatment. Honing works on the surface texture, so the stain and the finish should be handled as separate parts of the job.
Can just one spot be honed?
Sometimes. A small isolated mark may blend locally, but several overlapping etches or a worn work area often look better when a wider section is treated. The surrounding sheen determines how far the work needs to extend.