
Practical surface guide
What Is the Way to Polish Hardwood Floors in 2026? A Chester Homeowner's Guide
Wondering what is the best way to polish hardwood floors in 2026? Our Chesterfield experts reveal safe methods and common mistakes. Call today!
Google Reviews
Scroll to read all 9 reviews →
“Great work and even better customer service. Very professional, easy to work with, and you can tell they take pride in what they do. Definitely recommend Precision Floor & Surface Restoration if you need your floors or countertops brought back to life.”★★★★★
“Absolutely amazing work! From start to finish, everything was handled professionally and with great attention to detail. They took the time to make sure everything was done right, and the results speak for themselves. The floors and surfaces came out looking incredible, and you can tell they genuinely take pride in their work. I couldn’t be happier with the finished product and would definitely recommend them to anyone looking for quality work and great service. Five stars all the way! ⭐⭐⭐⭐⭐”★★★★★
“Precision Floor & Surface Restoration exceeded my expectations! Professional, punctual, and detail-oriented from start to finish. My floors look amazing, and the quality of work was outstanding. Highly recommend to anyone looking for top-notch floor and surface restoration services.”★★★★★
“Removed stains that previous cleaning services could not. Made the impossible - possible!”★★★★★
“Great quality work! Very professional with communication!!”★★★★★
“Clean and very professional. Highly recommend”★★★★★
“I highly recommend his floor cleaning services! He’s reliable, professional, and does an excellent job. My floors looked amazing, and I couldn’t be happier with the results.”★★★★★ ★★★★★
Polishing, Waxing, and Buffing Are Not the Same Thing
Most homeowners in Chester use these three words like they mean the same thing. They don't. Mixing them up is how good floors get ruined by well-meaning DIY projects. So let's break down what each one does to your wood.
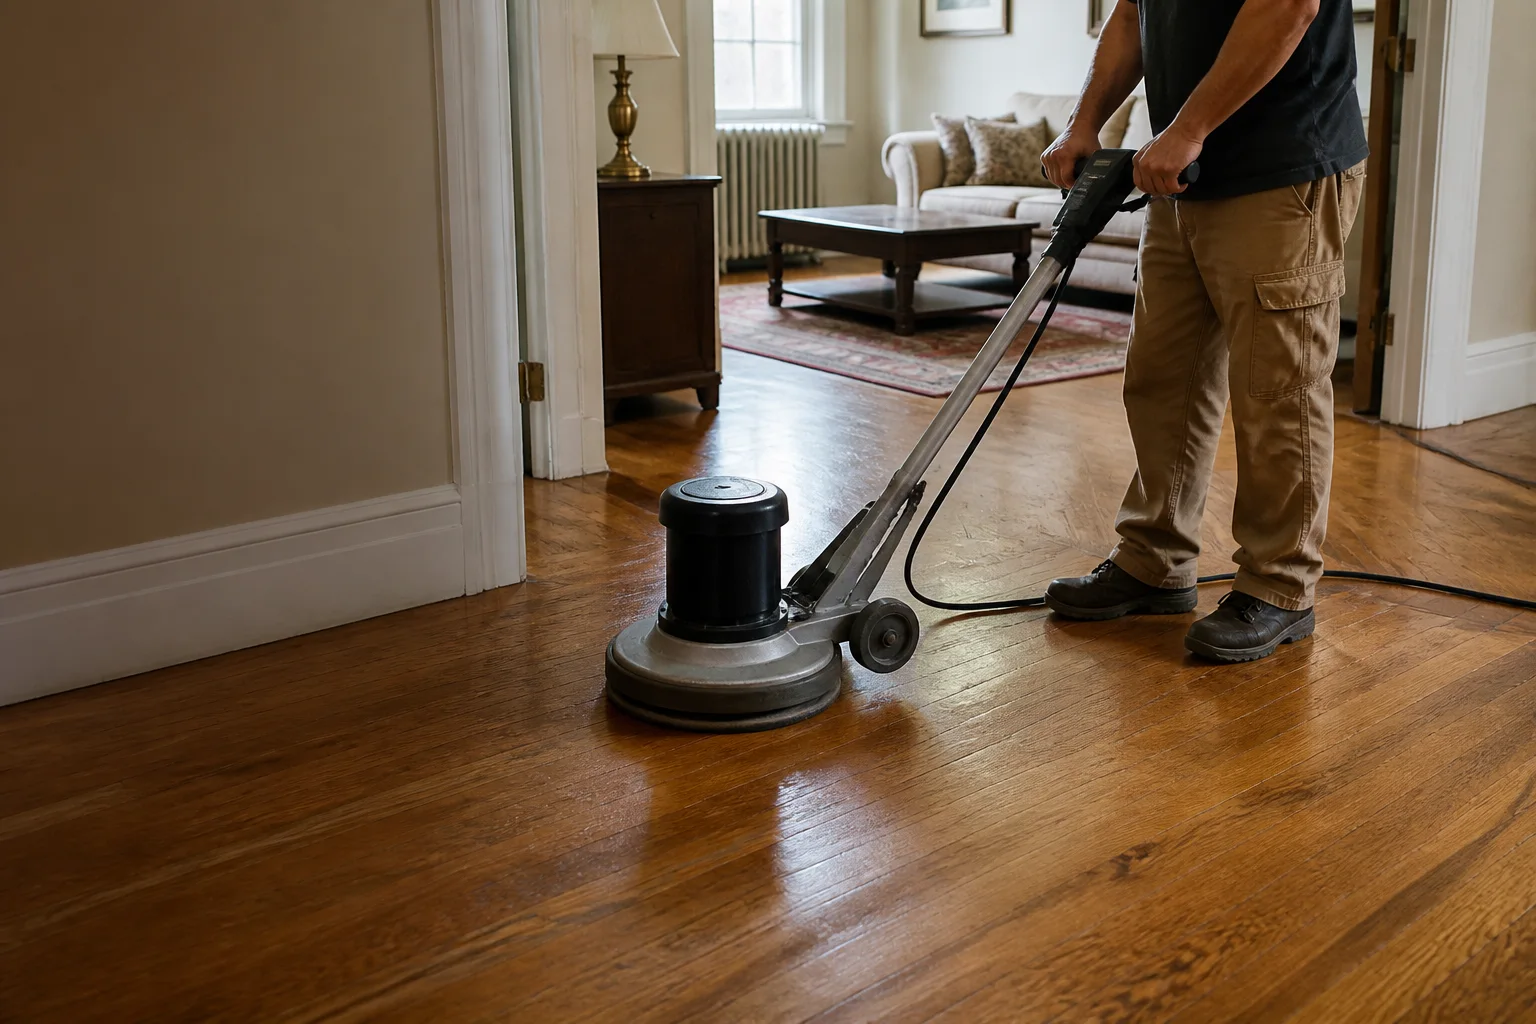
Polishing means applying a fresh finish coat that bonds to the wood and adds a protective layer. It fills tiny scratches and brings back shine from the inside out. This is what our Hardwood Floor Polishing Service does. It's not a surface trick, it's a real chemical bond with your floor's existing finish.
Waxing is older technology. It rests on top of the floor like a coat of paint. And here's the problem: wax builds up over time, turns yellow, and traps dirt underneath it. Old homes near downtown Chester often have decades of wax layers stacked on original hardwood. We've pulled up floors where the wax was thicker than the finish itself.
Buffing is a mechanical process. A machine spins a pad across the floor to smooth out the top layer and even out the shine. No new product goes on the wood during a basic buff, it just polishes what's already there. Our Wood Floor Buffing Service uses this method between deeper treatments to keep floors looking fresh without a full recoat.
Here's the quick breakdown of what each process does:
- Polishing: Adds a bonded finish layer, fills fine scratches, restores luster
- Waxing: Coats the surface of the finish, builds up over time, can trap moisture and dirt
- Buffing: Mechanically smooths the existing finish, no new coating added
Why does the difference matter for your 2026 plans? Because using the wrong method on the wrong floor can lock in damage instead of fixing it. Wax over a floor that needs recoating just hides scratches for a few months, then they come back worse. Buffing a floor with deep gouges won't touch them, the machine only works on the surface. And polishing a floor that already has heavy wax buildup can fail because the new finish won't bond to old wax residue.
We see this mistake all the time: someone buys a bottle of "floor polish" from a hardware store, thinking it's the same as professional polishing. It's usually wax in disguise. A few weeks later the floor looks duller than before they started, not shinier.
So how do you know which process your floor needs? Look at the wear pattern first. Light scuffs and dull spots usually mean buffing will do the job. Deeper scratches or a finish that looks worn through call for polishing or a full Wood Floor Recoating. If your floor has that old, sticky, yellowed look, there's a good chance wax buildup is the real culprit, not the wood itself.
How to Identify Your Hardwood Floor's Finish Before You Polish
Before you polish anything, you need to know what's on your floor. Most Chester homes we visit have one of three finish types, and each one reacts different to polish, buffing, and cleaning products. Guess wrong and you can dull the finish, cause cloudy spots, or waste a whole afternoon on a method that won't work.
The three common finish types are surface-sealed polyurethane, wax finish, and penetrating oil finish. Polyurethane forms a hard layer over the wood, like a plastic coating. Wax soaks in a little but mostly builds up on the surface too. Oil finishes soak deep into the wood grain itself. Here's the thing though, you can't always tell which one you have just by looking.
The Water Drop Test
We use this test on almost every job. It takes two minutes and tells you almost everything.
- Pick a spot in a low-traffic area, like under a rug or near a wall.
- Drop a small amount of water on the wood.
- Watch it for 10 minutes.
- If the water beads up and stays raised on the surface, you've got polyurethane or a hard wax finish.
- If the water soaks in and darkens the wood within a few minutes, you're dealing with an oil finish or a worn-out topcoat.
Old rowhomes near downtown Chester often surprise people. Original heart pine floors from the early 1900s were usually finished with oil, then someone added a poly topcoat decades later. So the water test on those floors sometimes shows a slow absorption, which tells us the top layer is worn thin or cracked.
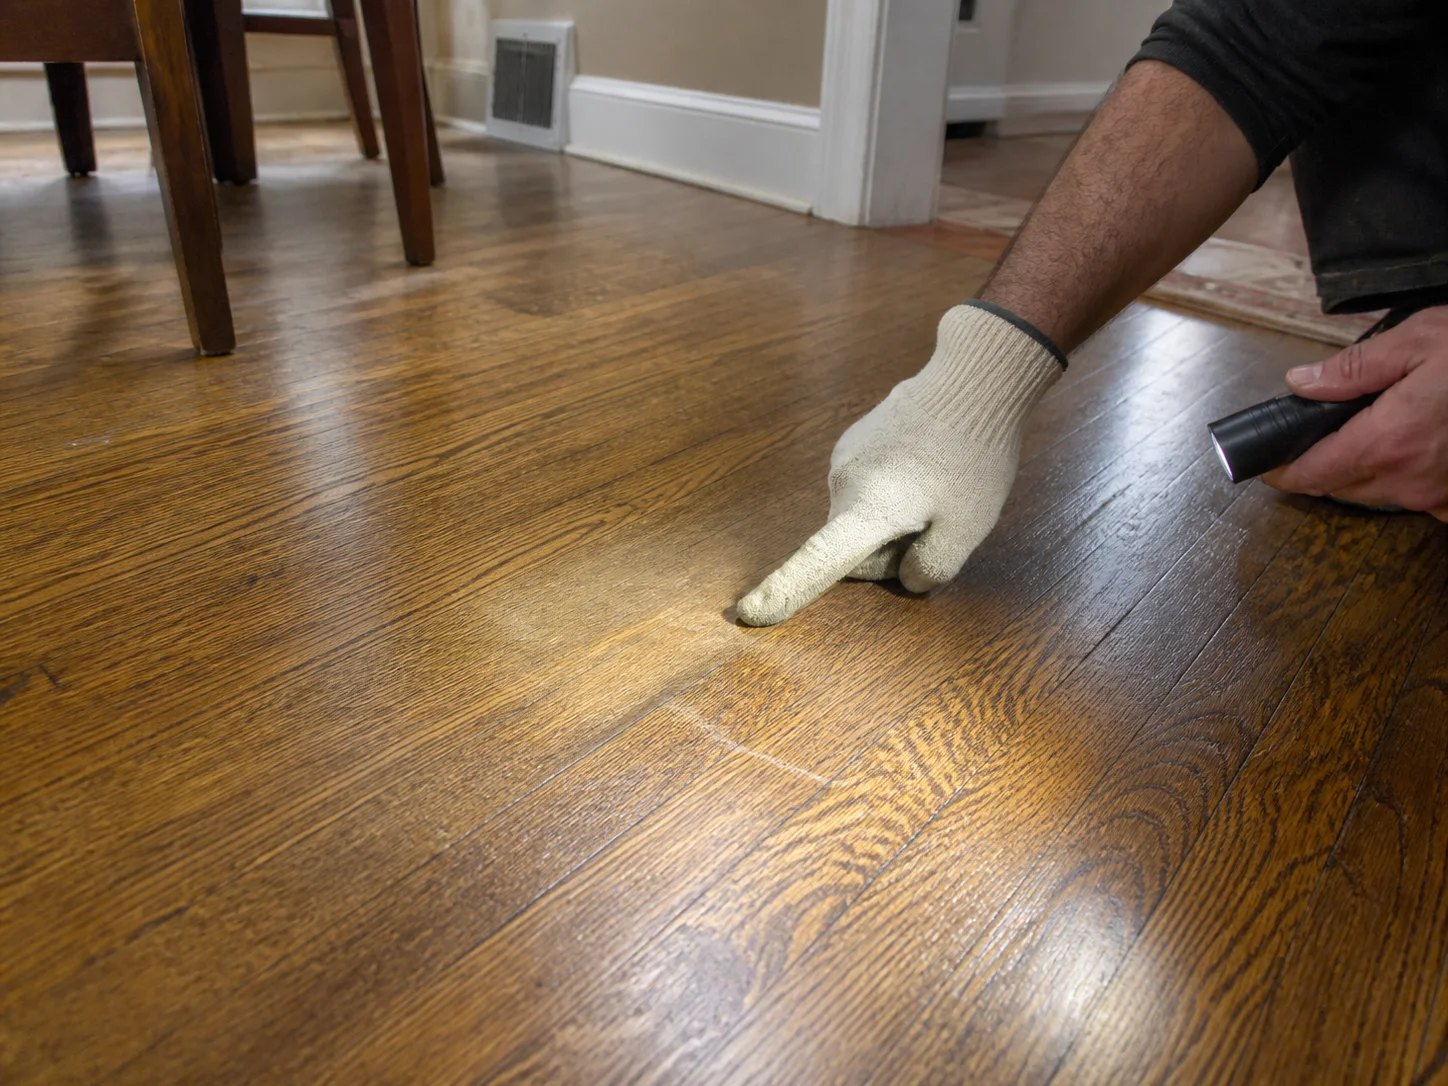
Another quick check: run your hand across the floor in a dim room, at an angle to the window light. Poly finishes show a fairly even sheen, wax finishes look softer and a bit uneven, and worn oil finishes often look dry or slightly gray in high-traffic zones.
We also look for these signs before recommending any polish method:
- White or cloudy patches, which usually mean moisture got trapped under a poly topcoat
- Deep gray or black staining, often a sign water sat on bare wood for too long
- A waxy buildup near baseboards, which points to old wax applications nobody's touched in years
- Fine surface scratches with no deep gouges, which usually means the finish just needs buffing, not sanding
Here's why this matters so much. Polish made for a poly finish can leave a wax finish looking smeared and sticky. And wax-based products on an oil finish can trap moisture underneath, which leads to cloudiness later. Most homeowners don't realize this until the floor already looks worse than before they started.
We see this mistake all the time, someone grabs a store-bought polish without checking the finish type first, then wonders why the floor looks patchy two weeks later.
If you're not sure what's on your floor, don't guess. Text us a few photos, one of the whole room and a couple close-up shots of any cloudy or worn spots. We can usually tell you the finish type and the right next step before we ever step foot in your home.
The Step-by-Step Way to Polish Hardwood Floors Safely
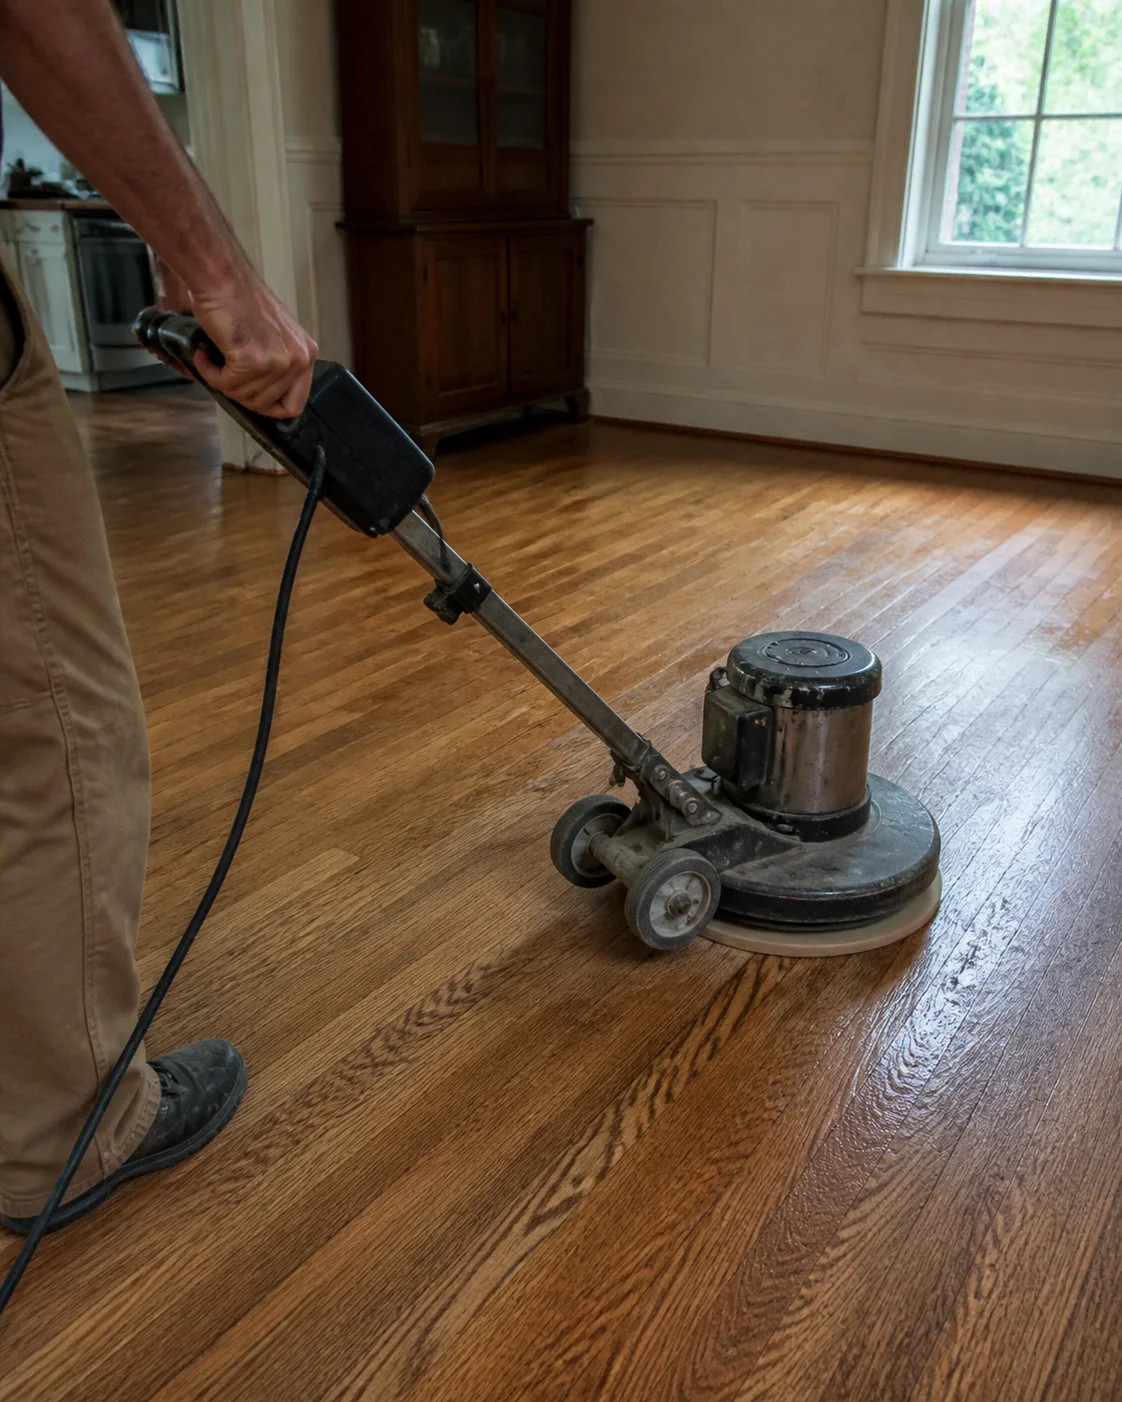
Polishing a hardwood floor isn't just running a buffer over the wood and calling it done. Do that on a floor with embedded grit, and you'll grind tiny scratches into the finish. We've walked into homes in Chester where a well-meaning owner rented a buffer, skipped a step, and dulled a floor that used to shine. So let's break down the real process, the one that protects the wood instead of wearing it down.
Here's the order that works, every time:
- Clear the room and inspect the floor. Look for deep scratches, water stains, or spots where the finish has worn through to bare wood. This tells you if buffing alone will fix it, or if you need recoating first.
- Vacuum, then damp-mop. Grit is the enemy here. A single pass with a regular mop can drag sand across the finish like sandpaper. We use a soft microfiber approach that lifts dirt instead of pushing it around.
- Let the floor dry completely. Any trapped moisture under a buffer pad turns into heat, and heat can soften the finish in patches. Chester's humidity swings between seasons, so drying time isn't always the same in July as it is in January.
- Buff with the right pad speed. Too aggressive, and you'll burn through the finish. Too gentle, and you're wasting time without restoring shine. This is where experience matters more than the equipment itself.
- Apply polish evenly, in thin coats. Thick coats look great for a week, then start to haze or feel sticky. Thin, even layers build shine that lasts.
- Let it cure before foot traffic. Walking on a floor too soon undoes half the work. Curing time depends on humidity, room temperature, and the specific polish used.
Skip a step, and the floor might look fine for a few days. But problems show up fast, usually within two or three weeks. We've seen finish turn cloudy from moisture trapped underneath. We've seen buffer swirl marks that only show up under afternoon sunlight coming through a window. These aren't rare mistakes, they're the most common ones we see on DIY jobs.
One thing homeowners in older Chester houses ask us a lot: does the age of the wood change the process? It does. Older floors often have thinner finish layers from decades of past sanding jobs. That means less room for error, and a heavier hand with a buffer can wear straight through the finish into raw wood. We slow down on these floors and use lighter pressure, checking as we go instead of running one continuous pass.
If you're staring at your floor right now trying to decide whether it just needs a polish or something deeper, snap a photo and send it over. We can usually tell from a picture whether buffing will bring back the shine, or if the floor needs recoating first. It's a quick way to get a straight answer before you spend a weekend on a project that might need a different fix.
Measured steps.
A considered result.
- Share the surface
Send a full view and a close-up of the concern.
- Confirm the material
Identify what it is before choosing a method.
- Set the scope
Separate cleaning, finish work, and repair needs.
- Refine with care
Use a process compatible with the existing surface.
- Review the finish
Inspect the result and discuss ongoing care.
Clarity before
the visit.
How do I know if my floor needs polishing, buffing, or a recoat?
Look at the wear pattern to find your answer. Light scuffs and dull spots usually mean buffing will fix it. Deeper scratches or a worn-through finish call for polishing or a full recoat. If your floor looks sticky or yellowed, wax buildup is probably the real problem, not the wood. Our Hardwood Floor Polishing Service page walks through each option so you can match the right fix to your floor's actual condition.
Can I polish my hardwood floors myself, or should I call a professional?
You can handle light buffing yourself, but full polishing is trickier than it looks. Store-bought polish is often wax in disguise, and it can leave a poly finish looking smeared. A pro checks the finish type first, then picks a product that actually bonds. If your floor has deep scratches, cloudy patches, or years of wax layers, calling in help saves you from making the damage worse.
What's the biggest mistake homeowners make when polishing floors?
The biggest mistake is guessing the finish type before picking a product. Polish made for polyurethane can leave a wax finish smeared and sticky. Wax-based products on an oil finish can trap moisture underneath, causing cloudiness weeks later. We see this constantly: someone buys a bottle labeled "floor polish," uses it without testing the finish, and ends up with a duller floor than when they started.
Why do old rowhomes near downtown Chester have so much wax buildup?
Old rowhomes near downtown Chester often have decades of wax layered on top of the original finish. Homeowners kept adding new coats of wax over the years without stripping the old layers first. Over time, that wax turns yellow, traps dirt, and gets thicker than the actual finish underneath. We've pulled up floors in these homes where the wax buildup was worse than the wood damage itself.
How does the water drop test help me understand my floor's finish?
The water drop test tells you what kind of finish you're working with in about ten minutes. Drop a small amount of water on a low-traffic spot and watch it. If it beads up, you likely have polyurethane or hard wax. If it soaks in and darkens the wood, you're dealing with an oil finish or a worn topcoat. Knowing this before you polish keeps you from picking the wrong product.
Does Chester's weather affect how often I need to polish my floors?
Yes, seasonal humidity changes in Chester can affect how your floor's finish holds up over time. Wood expands and contracts with moisture swings, which can stress an aging finish and speed up dulling or cracking. Homes near downtown with original heart pine floors seem to show this wear pattern the most. Checking your finish each season helps you catch problems early, before a small dull spot turns into a bigger repair job.
Talk With Us About Your Wood Floor
Tell us what looks worn, which products have been used, and what you want to improve. Photos are helpful, but you can call first.